Some of the links included in this post include affiliate links where I could earn a commission if you purchase something at no additional cost to you.
Here’s What We’re Going to Cover with Toy Rotations
- Why I decided to do a toy rotation
- The benefits of doing a toy rotation
- How I got started with my toy rotation
- How I plan on rotating the toys
- Our first toy rotation boxes
- A toy rotation updated
Why I Started Doing a Toy Rotation
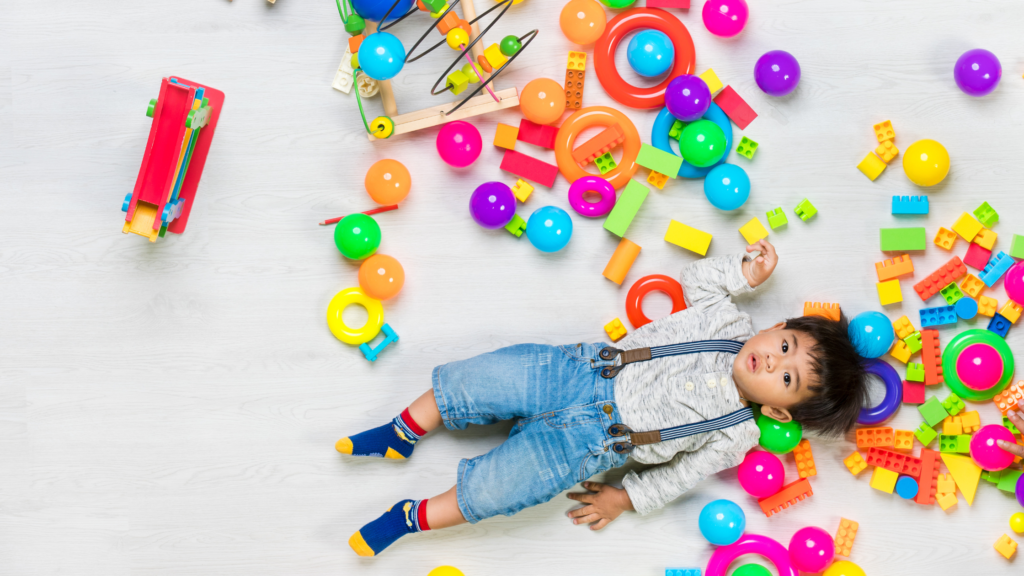
I’m sure I’m not the only parent struggling with this. While we seem to have an endless amount of toys, Ellie seemed to always gravitate towards the same few toys day after day. She pulls them out in what seems like an attempt to play with them, only to leave them behind to start playing with something else. She might only engage with each toy for a few minutes. Then, of course, as soon as she feels like she has run out of things to do, she is bored and runs around. Sound familiar? Then starting a toy rotation might be a good option for your family!
You’re constantly cleaning and moving toys around to make space for new toys after birthday parties and the holidays. I knew that I wanted to downsize the number of toys we have, but I always run into the fear that they will want to play with that specific toy again (even though I know they haven’t played with it in what seems like forever). Do you have that fear too?
Don’t worry! Let me walk you through the benefits of a toy rotation and show you exactly how I started one for my family!
Benefits of a Toy Rotation
While starting a toy rotation can decrease the clutter in your home and help with making it easier to pick up around your house, did you know that a toy rotation also fosters creativity? If you’re trying to do the math there, I get it. I wasn’t quite sure if that would work either. However, I’ve really seen it come to fruition with my kids.
Fewer Toys, More Options
Having fewer toy options forces children into using their toys in new ways. They are truly able to bring their imagination to life and create multiple ways to use a single toy. This is also due to another benefit of toy rotations, which is decreasing overwhelm.
Fewer Toys, Less Mess
You know that feeling you get when you walk into your child’s room or playroom and it’s packed with toys? You’re likely instantly overwhelmed by the sheer amount of items in the room. But, look through your child’s eyes. They are seeing a lot of toys and also a lot of shapes, colors, and options. It’s absolutely overwhelming. This is often when you will experience what I was with Ellie. When they are bringing more and more toys out, but not really playing with them, it’s due to them being overwhelmed.
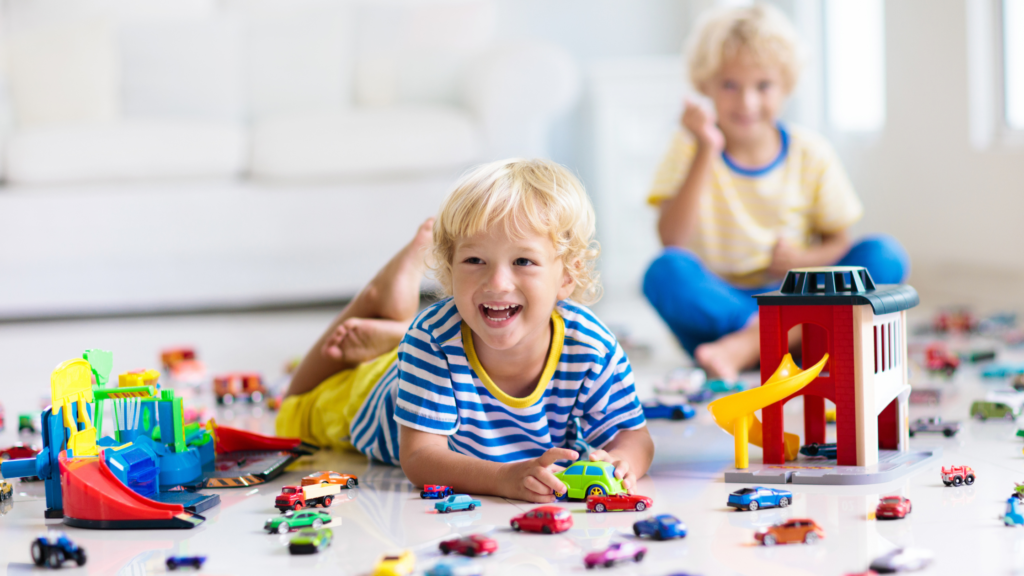
The overwhelm also kicks in when your child doesn’t feel like they have adequate space to play the way they want to with the toys they have. Maybe your child’s imagination wants to create a whole city for their favorite cars to drive through, but due to their piles of toys, that dream cannot come to life.
Easier to Keep Things Organized
While we are on the topic of the piles and buckets of toys your child has, you might also consistently wonder which toys they are actually playing with. If you’re like me, you have a fear of getting rid of a toy and the next day your child asking for it. Yikes! By rotating the toys around, you’re going to see very quickly which toys in each rotation have limited use and stay on the shelves. You can then begin to rotate those toys back out again and eventually pass them on to a donation center near you.
More Independent Play
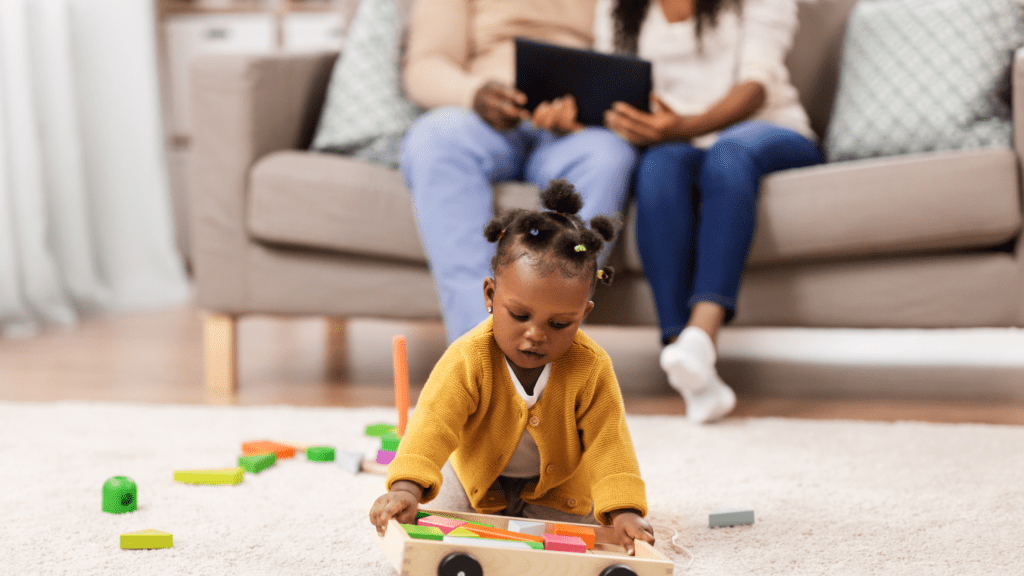
And finally, every parent’s dream benefit of having a toy rotation is how it improves their independent play. Can I get a round of applause for those 15 minutes of quiet where you can focus on your own tasks around the house? While it feels counterintuitive, having fewer options and more space really allows a child to let their imagination run free which cultivates independent playtime.
So, now that I’m sure you’re convinced that this is the way to go, you might be wondering how to actually get started with a toy rotation. Don’t worry, I have you covered. If you want my downloadable Toy Rotation Guide, click here!
How I Started with a Toy Rotation
You’re likely still reeling in the overwhelm of entering your child’s room or playroom with all of the toys to go through. I get it! Just remember, this is going to help both you and your child. Take a deep breath and let’s dive in.
The first thing I did was pull everything out. Yes, every toy, puzzle, and book that we own so I could see exactly what we were working with. This is potentially a big job, so don’t forget to put on your favorite playlist or podcast! When you pull everything out, you will be able to access it all and see how you can organize it.
I decided to use four tubs for our toys, mostly because this is how many the store had in the size I was needing. See, practicality!
I started dividing the books and puzzles first, making sure each tub had a fairly equal amount of each. Then I moved on to the toys. This was a great way to really start filtering through them! Which toys were missing pieces, broken, or way too young for my kids? Those were either donated or tossed. I made sure each tub had at least one to two open-ended toys, some form of imaginative items, pretend-play toys, and a fine motor toy.
If you’re reading that and thinking, “Wait, I need some more of those types of toys!” Click here to check out my Amazon lists based on your child’s age. While you might be rotating some toys out, you might find that you need to create some variety in the types of toys your kids have.
How Will We Rotate Our Toys
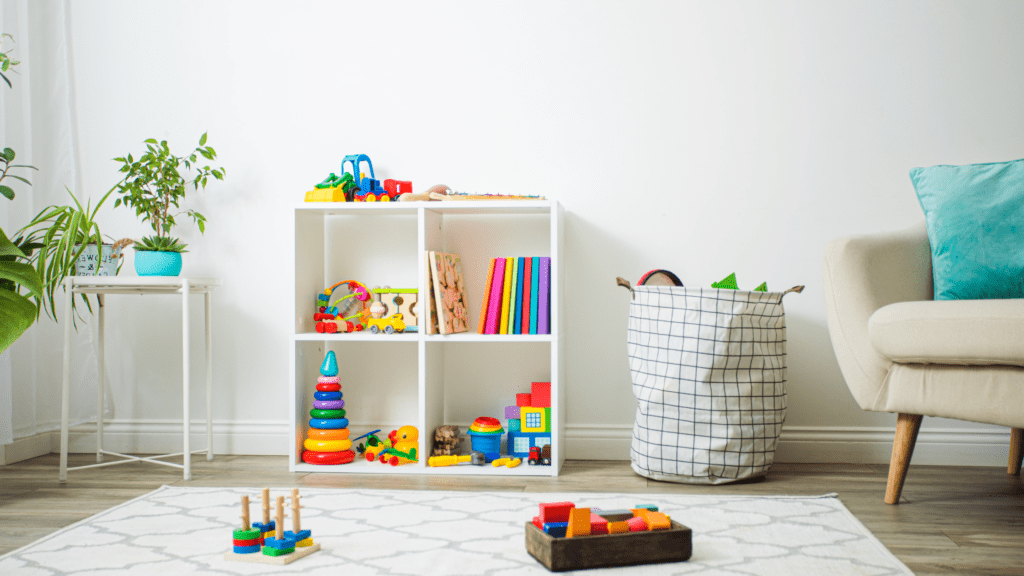
You’ve organized all of your toys and created your bins. Now what? Take a look at our first rotation!
For now, my goal is to rotate the toys every week. Once we have gone through everything, I’ll rotate the toys every two weeks. My plan is to find which is easier for me to commit to and which frequency Ellie responds to best. You might find that your kids need a more frequent rotation to keep things interesting, or that they want longer with a specific box.
To be sure that I have a few toys in different rooms I am keeping a close eye on where the toys end up within each rotation. For example, I once had a cabinet full of books. Ellie doesn’t have her favorites, but I think the sheer number of books was completely overwhelming her. So I’ve noticed that she really stopped exploring them as often. I think a fewer amount of books will really help her find new books while still seeing her favorites.
I am planning on being intentional to go through all of their toys before holidays and birthdays based on the toys that they seem less interested in. Then, any new toys, books, or puzzles they receive will go into the rotation buckets.
I also want to note that I really only included Ellie’s toys in this rotation. All of Harrison’s toys are in a big basket and I want to keep those together for now. I use a lot of his toys for this page and the consults I do. Plus, right now he just plays with whatever I give him. So I feel like I am able to better alternate what he plays with.
Do you want even more information on creating a toy rotation, including the actual products I’m using right now? Click here to download my full toy rotation guide!
Our First Toy Rotation Boxes
Alright, now on to what actual toys I included in each of the boxes. While I wasn’t going to initially include this here, I asked my Instagram community and they asked for it! So here it is!
Box One
Fine Motor Toys
Pretend Play Items
- Doctor Kit
- Purse
- Baby
Open-Ended Toys
- Wooden Balls
- Eggs in a Basket
- Books and Puzzles
Box Two
- Plush Items
- Frozen Match Game
- Magnets
Fine Motor and Pretend Play
Open-Ended Play
Other Toys
- Piano
- Nesting Blocks
- Shape Matching Eggs
- Books and Puzzles
Box Three
Pretend Play
- Tea Set
- Purse
- Bracelets
- Makeup Kit
- Bristle Blocks
Fine Motor and Visual
Open-Ended
- Baby Doll Pretend Play
Fine Motor
Books and Puzzles
Box Four
- Blueberry Pie Kit
- Nesting Hedgehogs
- Colored Bean Bags
- Figurines for Imaginative Play
Fine Motor Toys
- Dimple Duo
- Shape Sorter
- Ring Stacker
- Magnet Tiles
- Xylophone
Puzzle and Books
I do have other toys and books that aren’t in a current rotation box that I will rotate in after these first four rotations. I also plan on rotating the figurines, animals, cars, babies, and trucks as well. And I think I’m going to switch out the bristle for LEGO blocks the next time.
I have a few bigger items that don’t fit in a box, so I will bring them out if they go with a toy in a certain rotation box. I also picked out a handful of kitchen items to keep in the kitchen area and will rotate that out as we go.
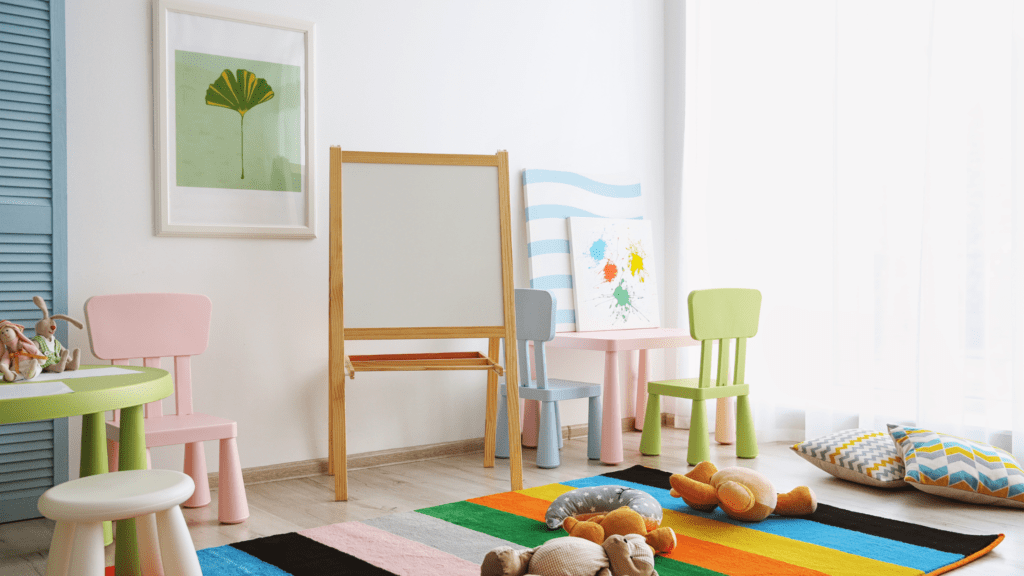
As far as my arts and crafts supplies go, I have a bag that I will switch up with every rotation. Ellie has shown a lot more interest and attention to coloring these days, so I want to foster time for that as much as I can!
For now, I am just keeping the extra rotation tubs stacked in our master closet. Ideally, I would love to find another spot but it works for now. Especially if it makes my living room less crowded and helps Ellie’s playtime be more productive!
Now You’re Done Organizing
I hope that once you’ve finished organizing all of your boxes, you will feel as I do, lighter and less stressed. I have already seen an improvement in her quality of play as she is playing for longer periods of time. Plus, she really has grown a lot already in her creativity and imagination. Harrison has enjoyed taking new toys from his sister too. You know how siblings are!
Toy Rotation Update!!
After this first rotation, I emptied out all of our current bins and went through anything that was missing pieces, was broken, or just simply not played with while it was out. I was able to donate three tubs of toys! That’s a huge win!
To change things up a little more frequently, I also bought two more tubs so that I could have fewer toys in each rotation and accommodate new toys as they come in. I personally prefer clear tubs so I can see what’s in each box just in case I need to grab something out or put a loose piece back in.
While I was reorganizing the toy boxes, I decided to put books in their own rotation bins instead of having them in the same box as the toys. Honestly, this help so much with the tubs being less cluttered and I really liked it a lot more.
After that first rotation, I decided to add numbers to each of the tubs. I realized that I had a hard time remembering which tubs had been used most recently. And now with six tubs total, I think this will help a lot! I’m still storing all of the tubs in our master closet and decided to create a permanent space for them there.
The Toy Rotation Conclusion
First and foremost, I want you to always remember that everything is a process and nothing has to be (or will be) perfect. Your kids might want a toy right now from a different box, that’s okay! You might also forget to rotate the boxes every week… or two weeks. Take it from my personal experience, it’s okay! My kids seemed perfectly happy with their extra week with those toys.
This is a system to support you, not to break you down or hinder you in any way. You will find a rhythm that fits you and your kids the best as you go.
If you’re wanting an even deeper dive into how I actually organize the toys when they are out, the containers I use, and more, click here to download my free Toy Rotation Guide! I know this is going to help you feel that much more confident in this process.

Be the first to comment